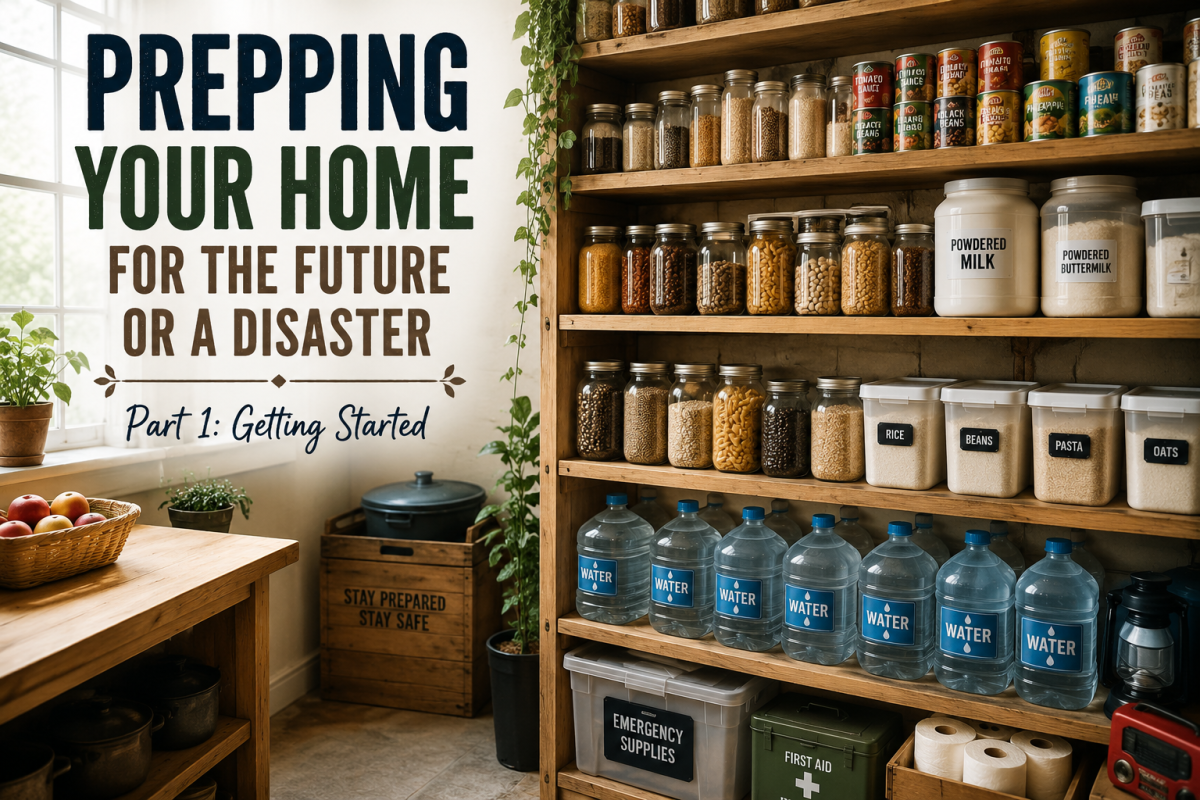
Prepping Your Home for the Future or a Disaster (Part 1: Getting Started)
Prepping your home for the future or for a disaster is not something that happens overnight. It’s a long process, and there’s a lot to think about, plan for, and put in place.
Because it can feel overwhelming, I’m breaking this topic into parts so you can work through it step by step without being hit with too much information all at once.
Step 1: Decide What You Actually Need to Prep For
The first thing you need to decide is exactly what you’re preparing for and how long you want your supplies to last.
There are many opinions on this, but a good starting point is:
At least one week of food and supplies per person
Ideally, work your way up to two weeks or more
Start small. You can always build from there once you get organized.
Step 2: Decide Where You Will Store Everything
Before you start buying supplies, you need to decide where you’re going to store them.
Ask yourself:
Do you have a spare cabinet?
A pantry or storage room?
A basement or root cellar?
In our home, we have a storage room behind the kitchen with shelves. We keep both our preparedness supplies and general food items there.
Having a dedicated space makes a huge difference. Even a small area works—you just need a system.
The amount of space you have will directly determine how much you can store. A few kitchen cabinets will limit you, while a basement or storeroom gives you much more flexibility.
Step 3: Keep Your Supplies Organized
One helpful tip is to separate your emergency/prep supplies from your everyday household food.
They don’t need to be in completely different locations, but they should be clearly organized so you can quickly see what you have and what is meant for long-term use.
Step 4: Start With Water (This Is Critical)
Water is the most important item in any emergency plan.
A general guideline is:
1 gallon of water per person per day
However, I strongly recommend planning for extra. You don’t want to underestimate this.
You can store:
Filtered water (best for drinking)
Spring water (also good for drinking)
Distilled water (better for rinsing and cleaning, not ideal as a primary drinking source)
Distilled water is essentially “empty” water—it contains no minerals—so it’s not the best choice for long-term hydration.
Water Example (2 Weeks for 1 Person)
14 gallons minimum (1 gallon × 14 days)
Realistic recommendation: 20 gallons per person
It’s always better to have more than you think you’ll need.
Step 5: Building Your Food Supply
Most emergency food storage includes a mix of:
Canned foods (store-bought or home-canned)
Dried foods (rice, pasta, beans, grains)
Frozen foods (short-term only)
Frozen food should not be your main backup plan, since it depends on power. If the power goes out, so does your freezer.
Best Long-Term Staples Include:
Canned meats and vegetables
Rice, pasta, oats, and other grains
Beans and legumes
Dehydrated foods
Step 6: Freeze-Dried and Ready-to-Eat Options
Freeze-dried foods are an excellent addition to your prep supplies because they:
Last a very long time
Retain more nutrients than standard dried foods
Are lightweight and easy to store
You can also consider:
MREs (Meals Ready to Eat)
We’ll go deeper into freeze-drying and long-term storage in another article.
Step 7: Pay Attention to Dates and Rotation
Every item you store will have a date on it. It’s important to understand what those dates mean.
“Use by” dates often refer to store quality standards
Expiration dates matter more for safety and long-term storage
A good system is rotation storage:
New items go in the back
Older items move to the front
Use older stock first
This prevents waste and keeps your supplies fresh.
Step 8: Don’t Forget Powdered and Shelf-Stable Items
Powdered and shelf-stable foods are extremely useful for long-term storage, such as:
Powdered milk
Powdered buttermilk
Powdered cream
Powdered drink mixes
These items can be rehydrated with water and stored for long periods.
Step 9: Cooking Supplies Matter Too
Don’t overlook essential cooking items like:
Cooking oils
Fats
Salt
Seasonings and spices
Spices, especially, can last a long time when stored properly. Buying in bulk and dividing into smaller airtight containers can also save money over time.
Step 10: Drinks and Extras
You can also store drink options, such as:
Juice (shorter shelf life)
Powdered drink mixes
Electrolyte powders
Be mindful of ingredients and sugar content in processed drink mixes.
Final Thoughts for This Part
Start simple. Don’t try to build everything at once.
Begin by:
Making a list of what your household actually needs
Planning for at least 2 weeks per person
Writing everything down before you start buying
If you’re unsure, look up daily calorie and water needs per person and build your plan from there.
In the next article, we’ll go deeper into:
First aid kits
Emergency blankets
Medical supplies
Survival essentials
For now, just focus on building your list and getting started. That’s the most important step.