Why Gluten-Free Baking Fails: 10 Common Problems and How to Fix Them
If you’ve been baking gluten-free for any length of time, you’ve probably had the disaster.
The bread that could double as a doorstop.
The cookies that spread into one giant cookie.
The cake that looked beautiful in the oven and sank the second you took it out.
Or my personal favorite—the loaf that looks perfect on the outside, only to reveal a wet, gummy mess when you cut into it.
Welcome to gluten-free baking!
When I first started eating gluten-free, I thought I could simply replace regular flour with gluten-free flour and keep making everything exactly the same way.
I learned pretty quickly that gluten-free baking has its own rules.
The good news is that once you understand why something went wrong, fixing it becomes much easier.
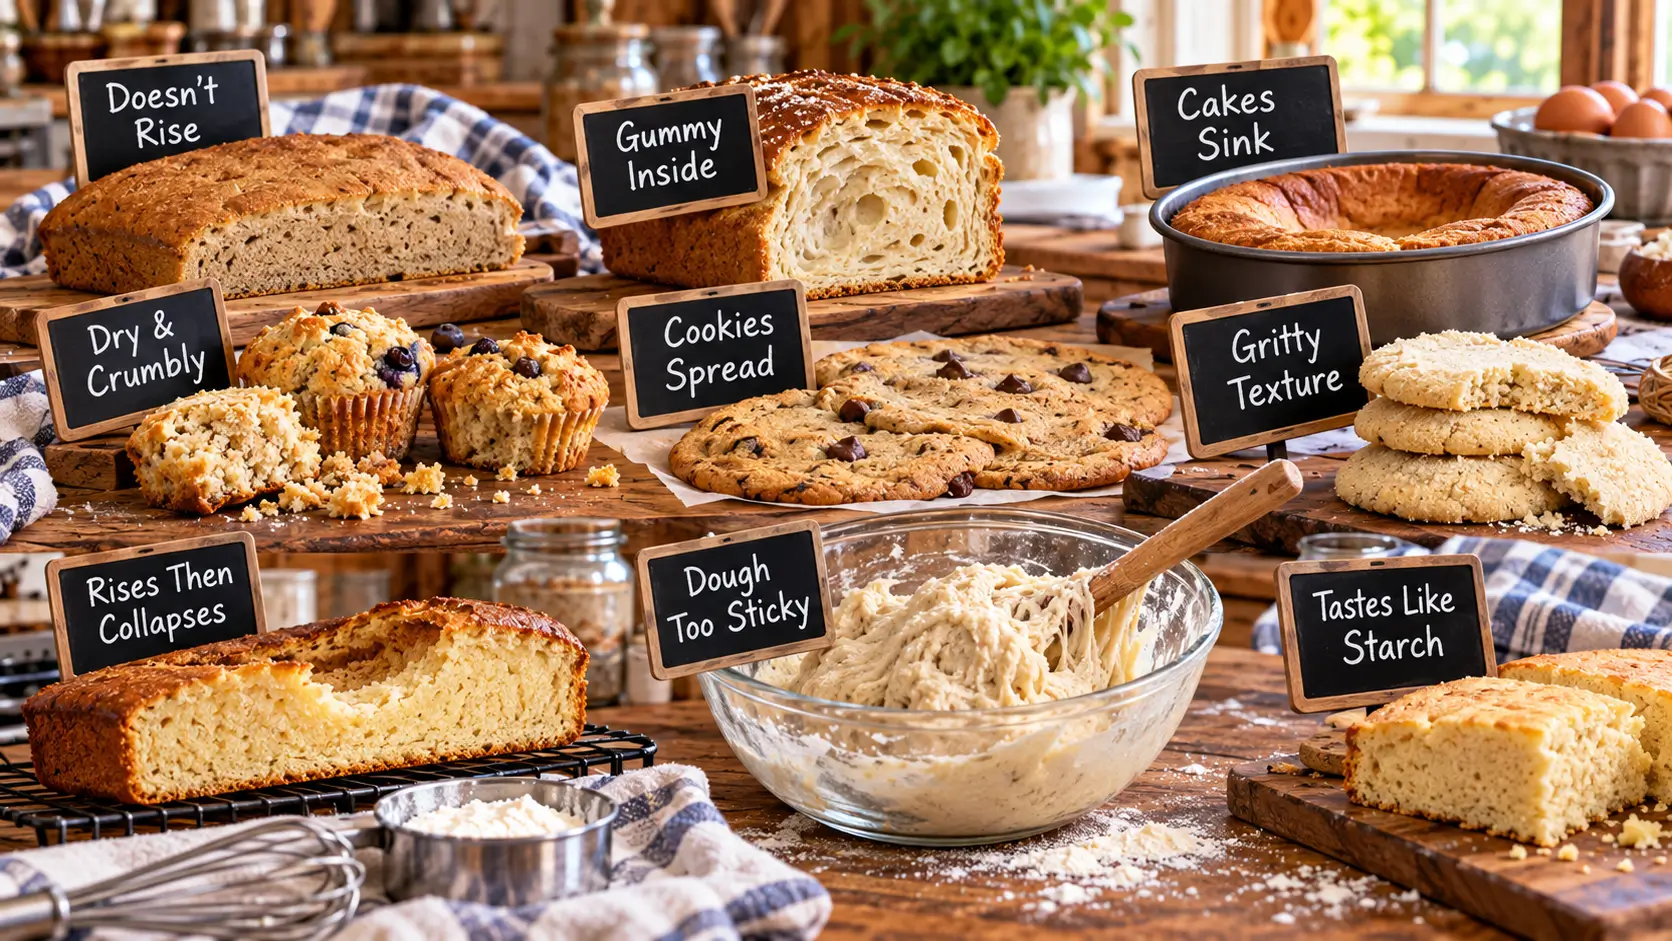
Here are 10 of the most common gluten-free baking problems—and what you can do about them.
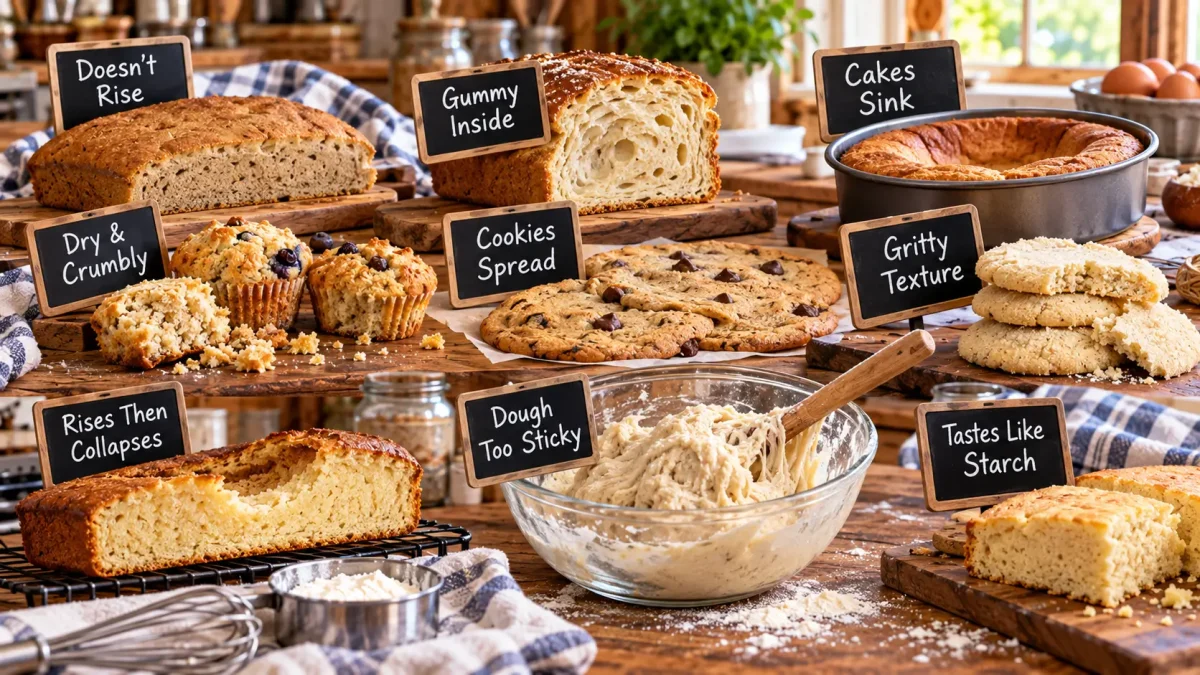
1. Your Baked Goods Are Dry and Crumbly
This is probably one of the most common gluten-free baking complaints.
You make a beautiful muffin or loaf of bread, take one bite, and half of it ends up in your lap.
Gluten normally provides structure and elasticity. Without it, baked goods can have trouble holding together.
What might be wrong:
Your flour blend may contain too much rice flour or another absorbent flour.
You may not have enough moisture.
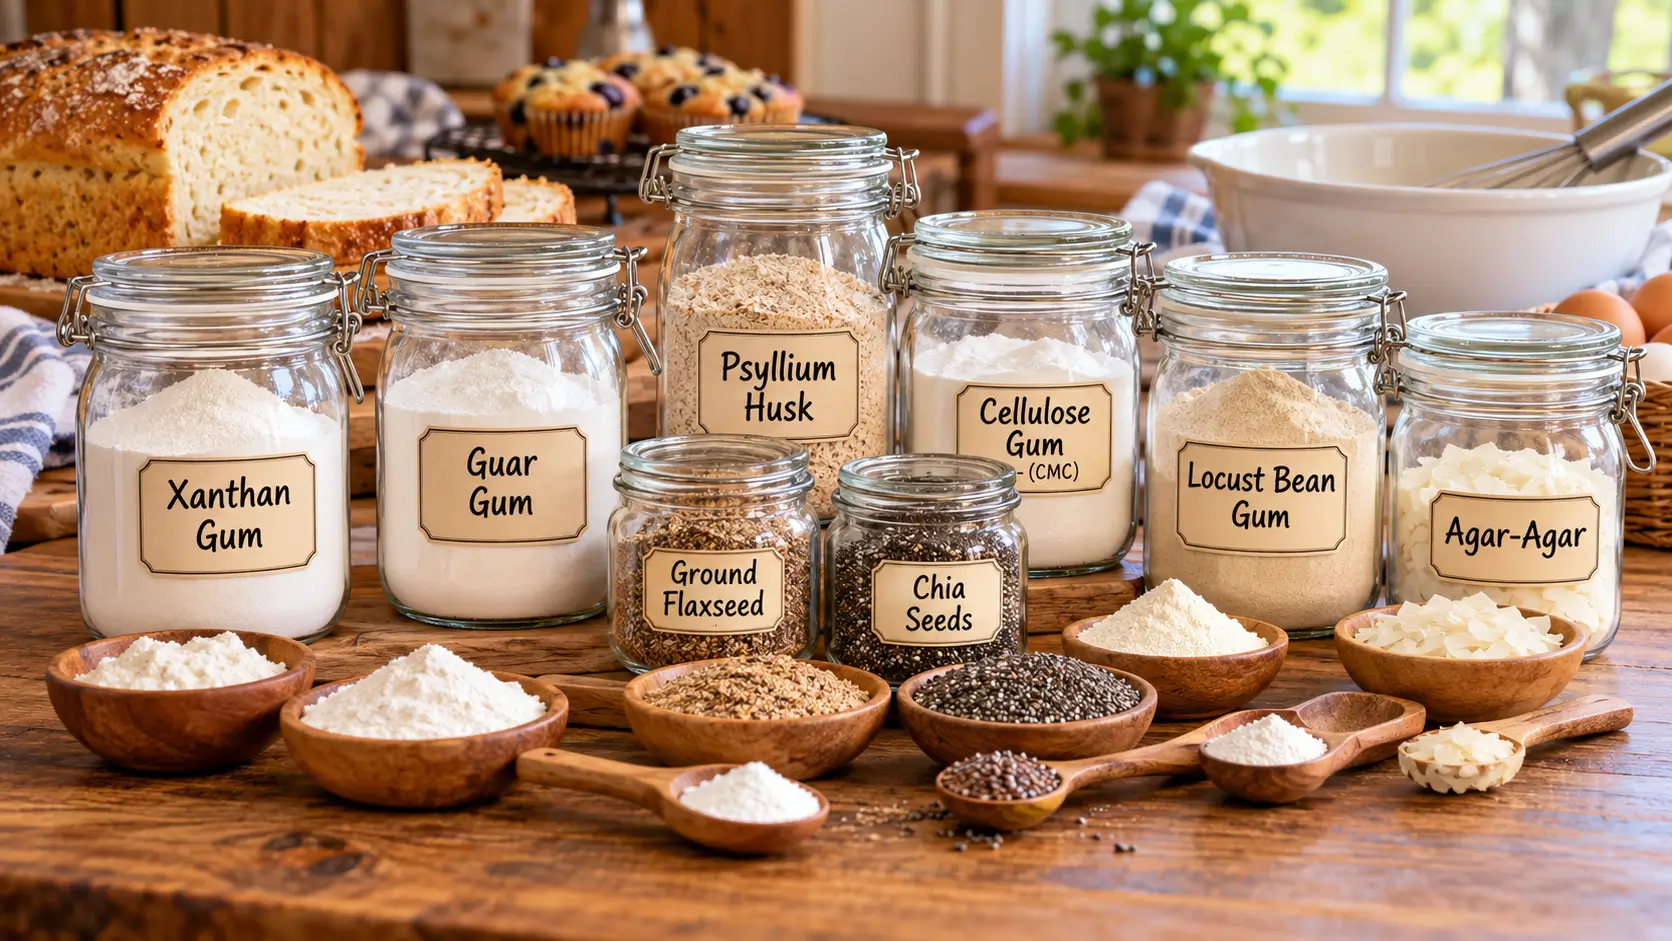
The recipe may need a binder such as xanthan gum, psyllium husk, flaxseed, or chia.
Or you may simply have baked it too long.
Try this:
Make sure you’re using a balanced flour blend containing both flour and starch.
Check whether the recipe requires a binder.
And watch your baking time carefully. Gluten-free baked goods can go from perfect to dry surprisingly quickly.
2. Your Bread Is Gummy Inside
This one is frustrating.
The outside looks gorgeous.
You start thinking you’ve finally mastered gluten-free bread.
Then you slice it open.
Goo.
There are several possible reasons.
Your bread may simply be underbaked. Gluten-free bread often needs more baking time than you expect.
Too much liquid can also cause a gummy center.
Too much xanthan gum or psyllium can contribute to an overly gummy texture as well.
And here’s a big one:
You cut the bread too soon.
I know.
It smells wonderful.
It’s sitting on the counter.
You want a piece.
But gluten-free bread often needs to cool completely before slicing because the interior continues setting as it cools.
Cutting it while it’s hot can make a perfectly good loaf look underbaked.
Try this:
Bake the loaf thoroughly and, when appropriate for the recipe, use an instant-read thermometer to check doneness.
Then exercise some patience.
Let it cool before slicing.
Yes, that’s the hard part.
3. Your Bread Doesn’t Rise
If your loaf comes out looking more like a paving stone than sandwich bread, start with your yeast.
Old or improperly stored yeast may not perform well.
Liquid that’s too hot can damage yeast, while a cold environment can make rising take much longer.
But yeast isn’t always the problem.
Gluten-free bread also needs enough structure to trap the gas created by the yeast.
That’s where ingredients such as psyllium husk and xanthan gum can become important.
Without enough structure, the yeast may be producing gas just fine—the dough simply isn’t holding onto it.
Try this:
Check that your yeast is fresh.
Follow the recipe’s recommended liquid temperatures and rising conditions.
Use the binder specified in the recipe.
And don’t expect gluten-free dough to behave exactly like traditional wheat dough.
4. Your Bread Rises—and Then Collapses
This one feels especially unfair.
Your bread rises beautifully.
You admire it through the oven door.
Then…
Pffffft.
It sinks.
This can happen when the dough rises beyond what its structure can support.
Too much yeast, too much liquid, over-proofing, or an unbalanced flour blend can all contribute.
Opening the oven too early or removing an underbaked loaf can also cause trouble.
Try this:
Don’t automatically assume a bigger rise is better.
Follow the recipe’s proofing instructions rather than waiting for gluten-free dough to behave exactly like wheat dough.
Make sure you’re measuring your ingredients accurately, especially liquids and binders.
5. Your Baked Goods Have a Gritty Texture
That gritty or sandy texture is one of the things that gave early gluten-free baked goods such a bad reputation.
Rice flour is often the culprit—particularly if it’s coarsely milled.
Try this:
Look for finely milled rice flour.
Combining rice flour with starches such as tapioca or potato starch can also produce a softer texture.
And sometimes allowing batter to rest briefly before baking gives the flour additional time to hydrate.
That simple step can make a surprising difference in some recipes.
6. Everything Tastes Like Starch
Starches are extremely useful in gluten-free baking.
But too much of a good thing is still too much.
A blend containing mostly tapioca starch, potato starch, or cornstarch may create baked goods that taste bland or have an odd texture.
Try this:
Balance starches with flavorful gluten-free flours such as:
Brown rice flour, sorghum flour, certified gluten-free oat flour, buckwheat flour, or other flours suited to your recipe.
Starch should be part of the team—not necessarily the whole team.
7. Your Cookies Spread Everywhere
We’ve all seen it.
You put twelve beautiful little balls of cookie dough onto the baking sheet.
Ten minutes later, you have one enormous cookie continent.
Gluten-free cookies can spread too much if the dough contains too much fat or liquid, doesn’t have enough flour or structure, or goes into the oven too warm.
Try this:
Chill the dough before baking.
Make sure the butter isn’t overly soft or melted unless the recipe specifically calls for it.
Measure your flour carefully.
And don’t grease the baking sheet unless the recipe tells you to.
A parchment-lined baking sheet is often a better option.
8. Your Cake Sinks in the Middle
A sunken cake can have several causes.
You may have used too much leavening.
The center may not have finished baking.
The oven temperature may be inaccurate.
Or the batter may have too much liquid for the amount of structure provided by the flour and eggs.
Opening the oven door too early can also cause delicate cakes to fall.
Try this:
Measure your baking powder or baking soda carefully.
Don’t add extra because you think more will make the cake fluffier.
Baking doesn’t work that way.
Give the cake enough time to set before opening the oven, and test the center for doneness before removing it.
If you bake frequently, an inexpensive oven thermometer can tell you whether the temperature on the dial matches what’s actually happening inside your oven.
9. Your Dough Is Too Sticky to Handle
Here’s something that takes getting used to:
Gluten-free bread dough often doesn’t look or feel like wheat bread dough.
Some gluten-free bread doughs are closer to thick batter.
Others—particularly recipes using psyllium husk—can become surprisingly easy to shape.
The mistake is seeing sticky dough and immediately dumping in more flour.
That can turn your finished bread into a dry brick.
Try this:
Trust the recipe before deciding something has gone wrong.
Wet hands, lightly oiled hands, parchment paper, or a bench scraper can make sticky dough easier to handle.
And if the recipe says the dough should be sticky, let it be sticky.
10. You Changed Five Ingredients at Once
This might be the biggest gluten-free baking mistake of all.
You find a recipe.
Then you decide:
“I don’t have sorghum flour, so I’ll use almond flour.”
“I don’t have tapioca starch, so I’ll leave that out.”
“I’ll replace the eggs.”
“I don’t have psyllium, so I’ll double the xanthan gum.”
“And I’m going to cut the sugar in half.”
Then the recipe doesn’t work.
And we blame the recipe.
I’ve learned that gluten-free recipes can be particularly sensitive to substitutions because every ingredient may be contributing to the structure.
Try this:
When trying a recipe for the first time, make it as written whenever possible.
Once you know what the original is supposed to look and taste like, change one thing at a time.
Then write down what you changed.
That way, if you accidentally create the best gluten-free bread you’ve ever eaten, you can actually make it again.
Bonus Problem: You’re Measuring Flour by Volume
I use measuring cups too, so I’m not going to tell you to throw them away.
But if you want to get serious about consistent gluten-free baking, consider buying an inexpensive digital kitchen scale.
A cup of flour isn’t always a cup of flour.
Scoop it directly from the bag and you can pack considerably more flour into that measuring cup than you intended.
That extra flour can completely change a gluten-free recipe.
Try this:
Whenever a recipe provides gram measurements, use them.
You’ll get more consistent results and you’ll have fewer mystery failures.
Keep Notes When You Bake
One of the best habits I’ve developed is writing things down.
Did you add another tablespoon of water?
Did the bread need another ten minutes?
Did you substitute sorghum flour?
Did you use psyllium powder instead of whole husk?
Write it down.
Gluten-free baking involves some experimentation, and your notes can turn today’s experiment into tomorrow’s dependable recipe.
Don’t Give Up After One Bad Batch
This is probably the most important advice I can give anyone learning to bake gluten-free.
You’re going to make some ugly food.
You’re going to make something that doesn’t rise.
You’re probably going to make a loaf of bread that could be registered as a deadly weapon.
It happens.
Instead of simply throwing it away and saying the recipe didn’t work, look at what happened.
Too dry?
You may need more moisture.
Too gummy?
Check your baking time, liquid, and binders.
Didn’t rise?
Check your yeast and structure.
Crumbled everywhere?
Look at your flour blend and binder.
Once you start treating baking failures as clues, you become a much better gluten-free baker.
The Bottom Line
Gluten-free baking isn’t necessarily harder than traditional baking.
It’s different.
Once you understand what the flours, starches, gums, liquids, eggs, yeast, and other ingredients are doing, the whole thing starts making much more sense.
That’s why understanding your ingredients is so important.
You stop blindly following recipes and start understanding why the recipe works.
And eventually, those gluten-free baking disasters become fewer and farther between.
Although I’m not making any promises about the occasional brick of bread.
We all have one of those days.